
I’ve been pondering building a kitchen island for a couple of years now. It all started when Megan and I saw a walnut butcher block counter top that had been returned to Lowe’s and was on ‘clearance.’ We liked the look and checked online to see how much butcher block cost, and it turned out to be much less than Lowe’s clearance price (like 1/3).
 Fast forward 2 years, countless antique malls, auctions, flea markets and garage sales and we’re (well Megan is) out of storage and counter space (meager to begin with). Where are we supposed to put all this Pyrex and Morton Pottery? So, I told her I’d build her the island of her design for her birthday. She whipped out the trusty graph paper (that’s right, she hasn’t graduated to the digital age) and iterated until she was satisfied with the look and it was something I could actually build.
 On to the details. We ordered the top first, before we even had a base cabinet plan. She knew how large she wanted the top, so we just ordered it. It is 25″ by 60″ ‘character walnut’ from hardwood-lumber.com. Character walnut just means they mix the heartwood (dark) and sapwood (light) to get a large variety of colors.

 The bottom is a pretty standard base cabinet made of 3/4″ plywood with a face frame. Nothing really special about it except that it has a face frame on all four sides because they’re all visible. If I had to do it over again, I would make a couple of changes but overall I was happy with how it turned out.

 The butcher block came unfinished and actually pretty rough. The edges and one side had significant planer markings. We sanded that off with 120 grit and finished it off with 220 grit. After much research, we decided to use only mineral oil on the surface as it will see every day use. After one use, it got ‘hairy’ again, so we re-sanded it with 220 and followed it up with 320 and 400.
 The finish was a somewhat complicated procedure. Our first step was to use Black Walnut Danish Oil. It is supposed to be a penetrating oil finish. My rationale was that it should hold more color when the top coats are sanded back than a stain. I don’t actually know if it penetrates further or not, but it sounds good in theory. In any case, we did not want to see super light colored pine after sanding back.
Following the Danish Oil, we used two coats of Shellac. Shellac is supposed to be a tannin blocker. Tannin is the compound in wood (especially the knots in pine) that will eventually discolor the top coat. You can also use an oil-based primer or a shellac-based primer, but these are usually white and can not be tinted very dark.
The next coat was Antique Mahogany as a base coat. We used a foam applicator instead of a brush to keep it smooth. The top two coats are Vanilla Milkshake applied with a brush in order to get better coverage. We sanded in between each coat and distressed it slightly after the final top coat. Finally, we finished it with Minwax Polycrylic in Satin. It was a lot of steps and took far too long, but the overall result is pretty good.
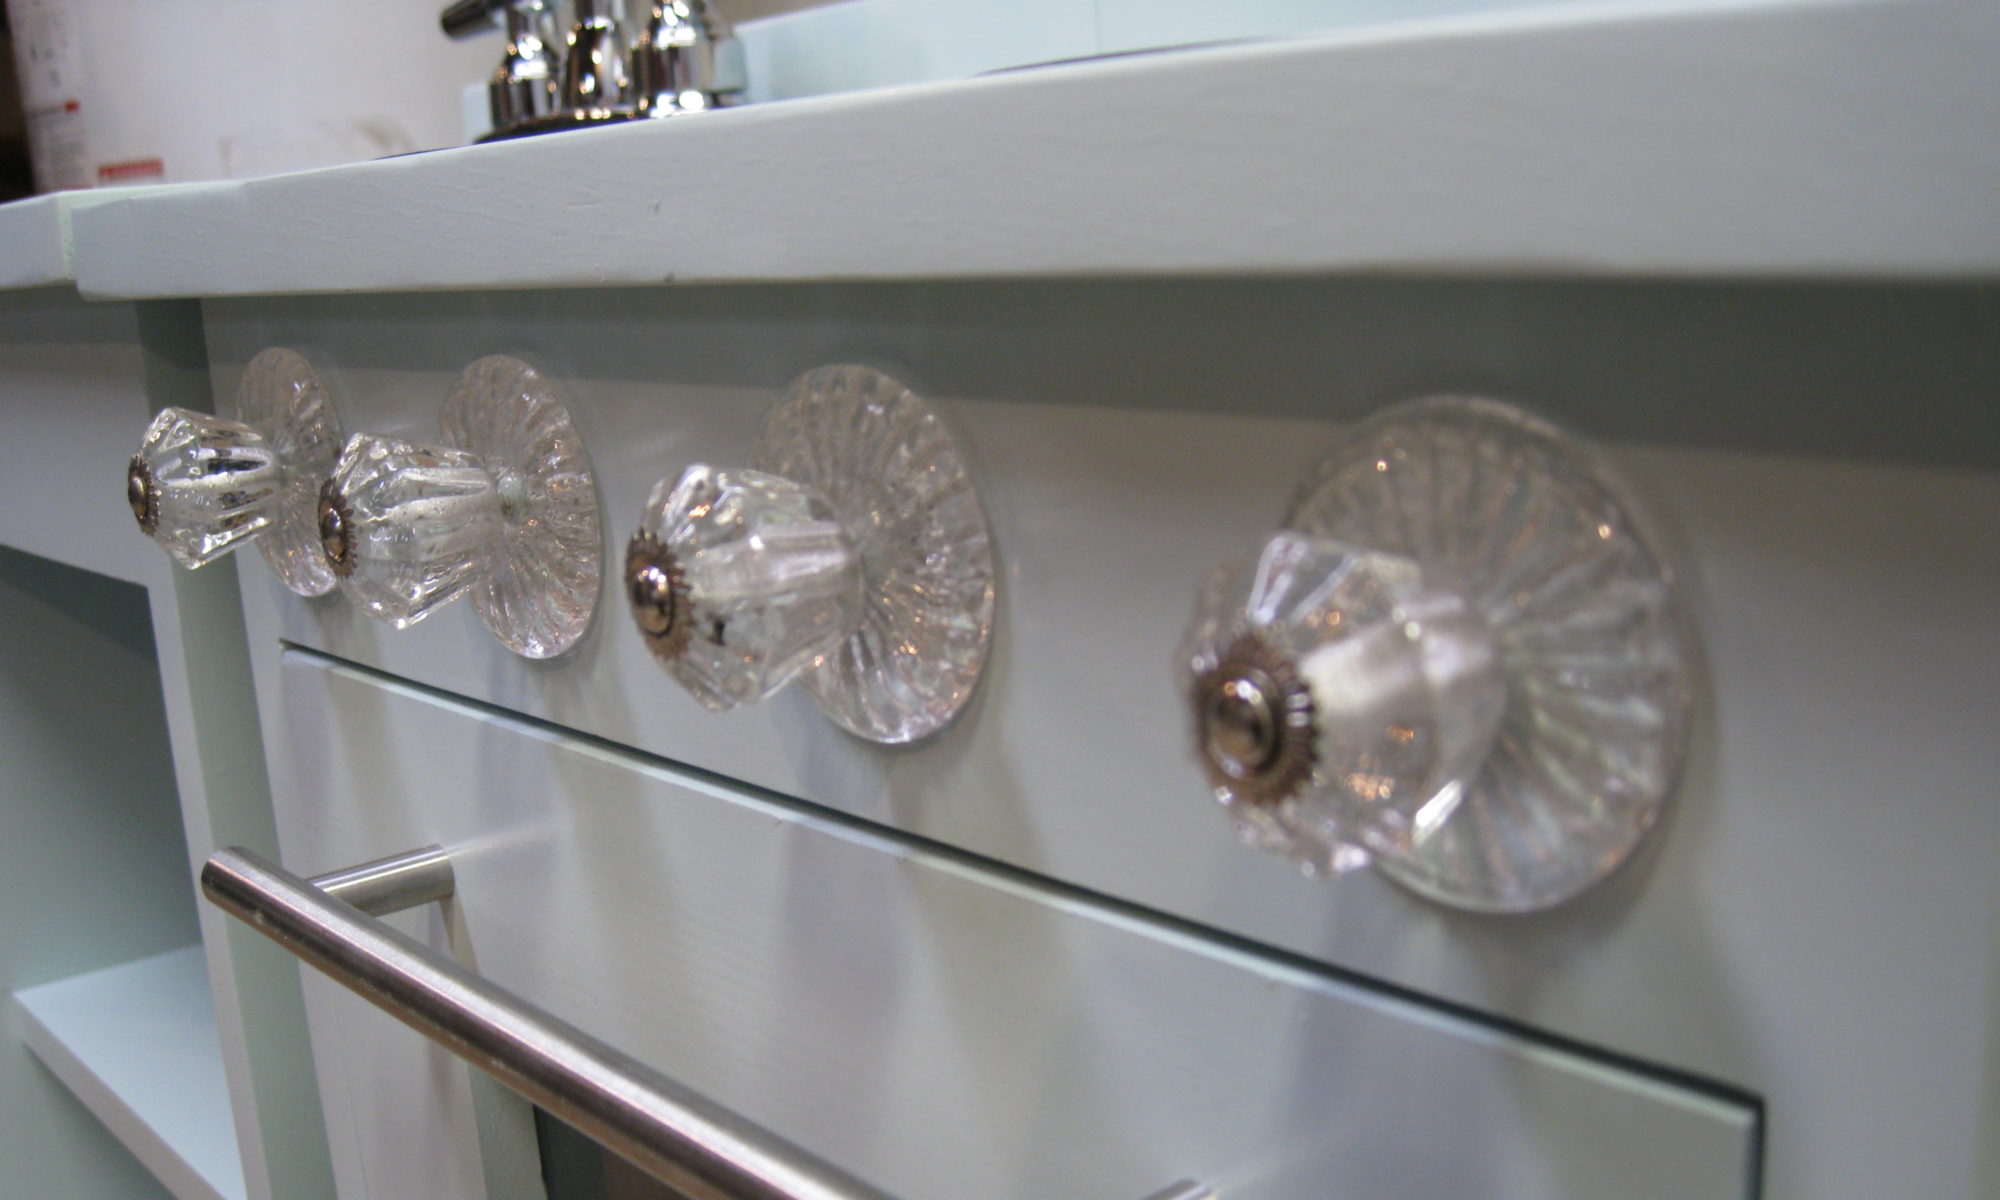
 We chose the hardware to match what is already in our 1940’s era kitchen. The bin pulls and door latches are from Van Dyke’s Restorers.
There are a few additional pictures in the gallery below.


