I’m still working on putting the finishing touches on the basement bathroom (no, that does not include a ceiling yet). There was literally no storage in the bathroom at all. No shelves, no cabinet, nothing. No place to store a towel, washcloth, or toilet paper. I decided to make this shelf from ana-white.com. It was super easy, I had it constructed in a couple of hours. Finishing it took much longer due to a minor stain debacle, but it turned out nice despite my best efforts to ruin the whole project. I added some hooks to the bottom, but they were not yet installed when I took the pictures.
This piece was created to match the Jelly Cupboard I posted a while ago. It essentially uses the same plan, but is heavily modified to be wider and deeper. Basically all the dimensions are completely different, but the structure is about the same. The only significant structural modification is to the top where several cross braces were added to support the weight of a TV. Hopefully this will add enough stability to avoid unsightly sagging; time will tell. Luckily my ‘customer’ doesn’t have a heavy TV.
Edit 2015-01-28: Please go here for detailed dimensions, cut list and material list.
This was built for a friend who commissioned a dresser. Once again I found plans online, then modified them to suit what I wanted to build. It is Patrick’s Beach Cottage Dresser from Ana-White.com.
The plan only calls for 12″ deep drawers. This is really too narrow to use as an every-day dresser as it would not hold many clothes. I modified it by doubling the depth and adding a 5th drawer.
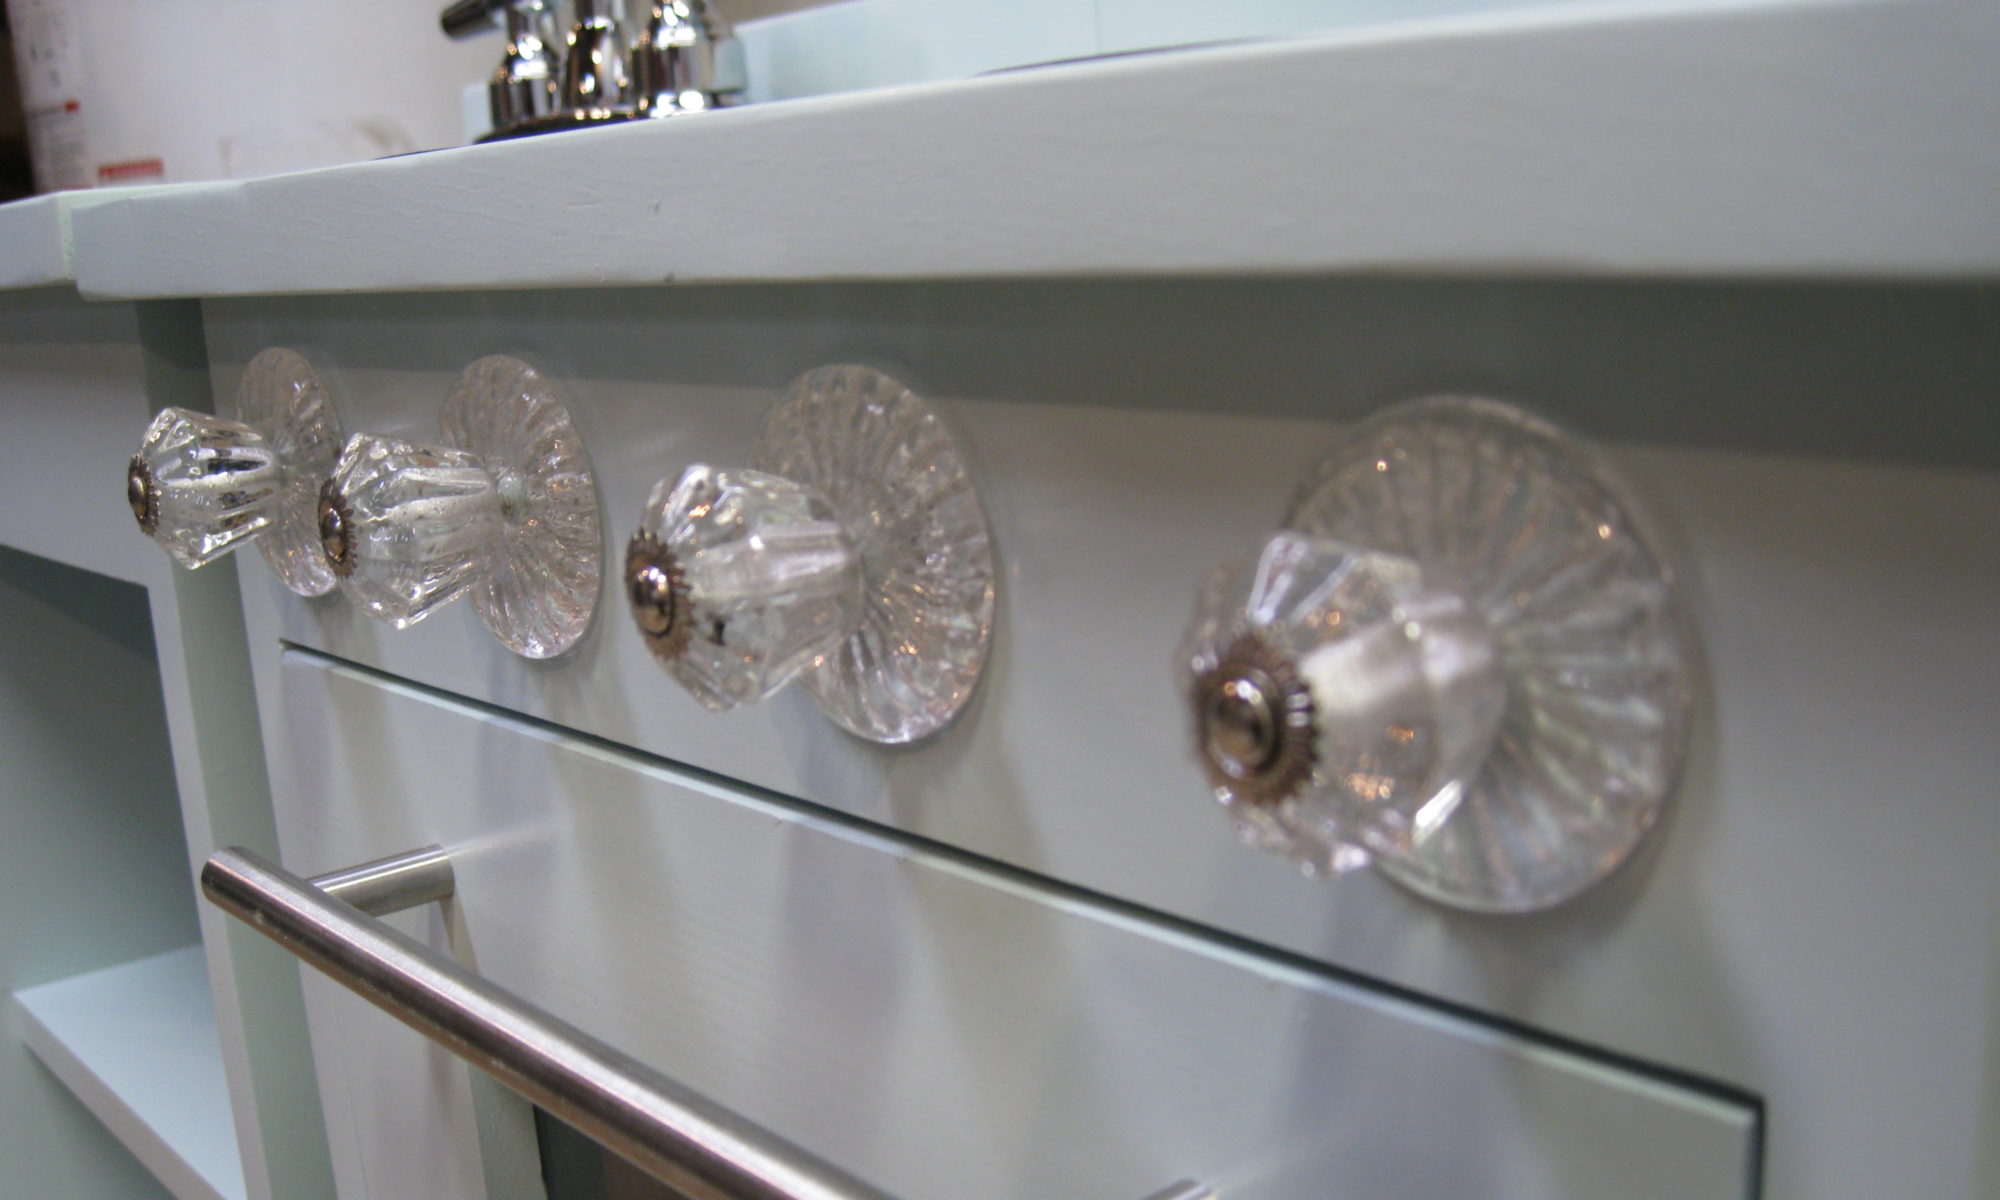
This was a really simple project that Megan requested. Apparently she needed somewhere to hang her necklaces, who knew? She bought the pulls, I just mounted them on a scrap 1×6. I also discovered that I have a keyhole router bit, which you can see in the pictures. Start to finish only took like 24 hours, which must be some kind of record for a project of any size (at least for me).
Also, my apologies to whomever is trying to sell these on Esty.com, but this project only costs like $10 max. It would cost more to ship one than it would to make it.
This inaugural post of the latest incarnation of grvland.com will feature the construction of “Patrick’s Jelly Cupboard” from Ana-White.com. All props go to Patrick and Ana for planning, drawing and constructing this project. I merely followed their excellent instructions. The following paragraphs are related directly to those instructions and include my minor adjustments.
The plan calls for 1×10 shelves and 1/4″ plywood or beadboard backing. I adjusted the plan a bit to use 1×12 shelves flush to the inside of the face frame. I ripped all the shelves down by 1/2″ and used 1/2″ plywood on the back. Because the shelves were ripped down, the back sits flush to the sides and top. This way the backing material is not visible from the sides.
The doors were made per Patrick’s instructions in the comments. The screen sits inside a 3/4″ rabbet made with a router table before the assembly of the door frames. I used a 3/4″ straight bit set to sightly deeper than 1/4″ to allow for the depth of the wooden screen stop strips plus the screen. The screen was spray painted with RustOleum Painter’s Touch Satin in Heirloom White prior to installation in the doors.
But no one really cares about all that…let’s just get to the results:
Unfinished carcass with face frameOutside surfaces painted flat black firstYeah, we have a Morton Pottery nesting bowl problemComplete!Final resting place